Showing posts with label unFootball Sunday. Show all posts

November 09, 2011

(un)Football Playoffs

Now that (un)Football Sundays have wrapped for the season, I wanted to thank the wonderful bloggers who participated.  I think each of them scored a touch down with their projects!  (Sorry, I couldn’t resist one last football related pun).

Check out the creativity we saw over the last 5 weeks:


Twine Wrapped Candles by yours truly, me!

These projects sure beat watching football!  Thanks again for participating, ladies!


November 06, 2011

Twine Wrapped Candles: My unFootball Sunday

I’ve been having so much fun with (un)Football Sundays each week and am excited that it’s my turn to share a fall project today.  If you missed any of the past projects, you can check out the projects from Traci, Alissa, Kim, and Rhoda.
unfootball
I got the inspiration for my fall project from these rather plain looking candles.  You have probably seen these same ones at Walmart where they sell for $1 or $2.  They smell great, but there is nothing striking about their look.  So I decided to spruce these babies up for fall by wrapping them in twine.

I had some twine on hand (purchased a while ago from the dollar store) and hot glued it to the bottom of the candle.  I placed dots of hot glue around the bottom of the candle and wrapped the twine around, and then continued wrapping it up the sides.

I continued to place dots of hot glue sporadically around the candle and wrapped the twine tightly around it.

The candles looked better already, but I decided to give them a fun twist with some spray paint.  I taped off horizontal stripes on one candle and vertical stripes on the other.


Then I got busy spray painting and donned one in white and the other in red.  I think these colors go nice for the fall, but would also look nice in the summertime for a nautical look. 


I’m really pleased with how these candles turned out.

Here are the candles on my living room table, next to my red painted shell.

This was such a quick and easy project and I was able to use materials that I already had on hand.  I’m really enjoying this candle transformation, what do you think?

October 29, 2011

Fall Door Pocket: Rhoda's unFootball Sunday

I’m posting the (un)Football party a day early today because Saturdays are not immune to football and today is college football game day for many of you. To take a break from all of the macho madness, I’m very excited to have Rhoda from Southern Hospitality guest posting today! 

Rhoda’s blog is one of the first home decorating blogs I started reading when I stumbled onto her laundry room makeover while doing a Google search years ago.  I didn’t even know that laundry rooms could be so pretty and fancy until I saw hers!  Boy am I glad I found her blog because she is a decorating pro and her blog is full of good ideas and inspiration!  I am so thrilled to have Rhoda here today and I’ll turn it over to her now:

unfootball
--------------------------------------------------------------------

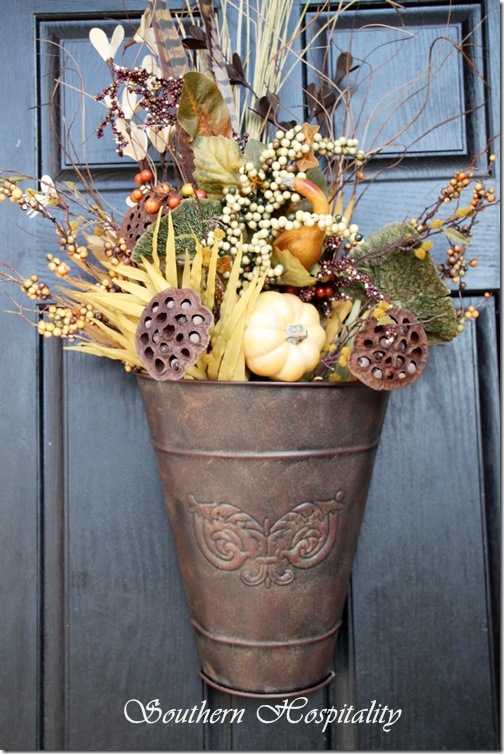
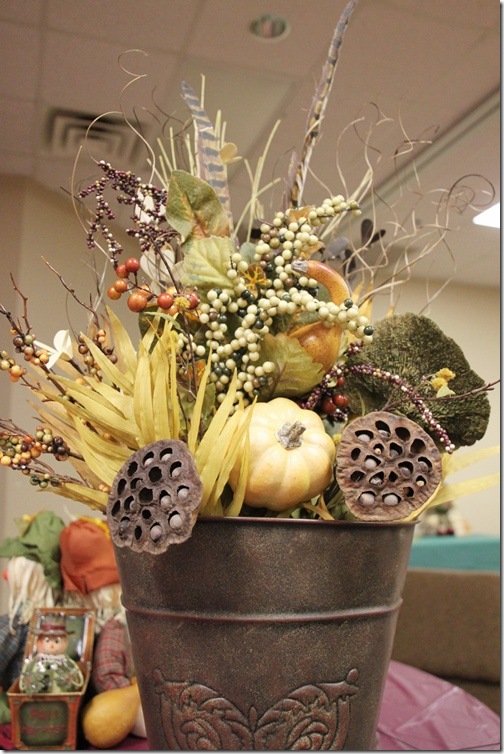
Today, I’m sharing how I made a Fall door pocket for my sister’s front door. It’s really just a matter of collecting a few Fall items from the craft store and putting them all together. I’m definitely not a floral expert, but I think anyone can put together a pleasing door arrangement with a few faux floral picks from the local store. We got all of ours at Hobby Lobby (on sale, of course!). I prefer florals that at least have a somewhat real look to them, so we opted for golden fronds and some natural elements to round out our arrangement.

Biltmore Inspirations door pocket

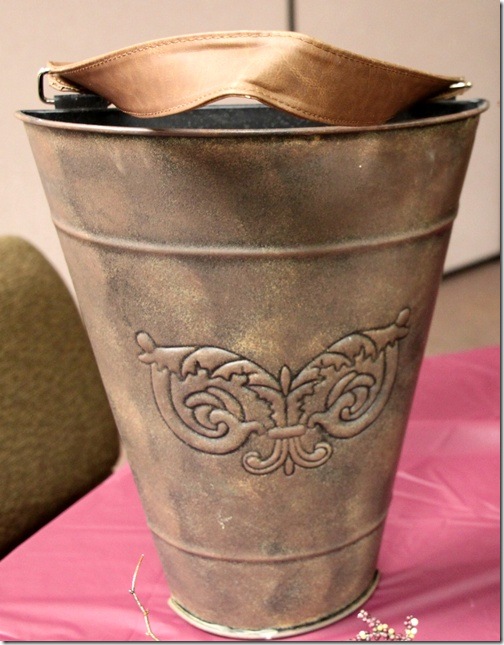
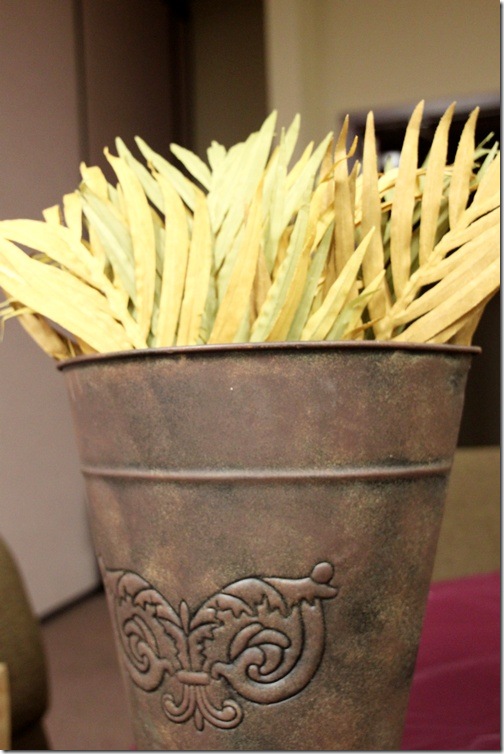
I started with the Biltmore Inspirations metal vintage grape bucket and it is a wonderful way to change out your front door look. Change it up with the seasons!

Fall florals

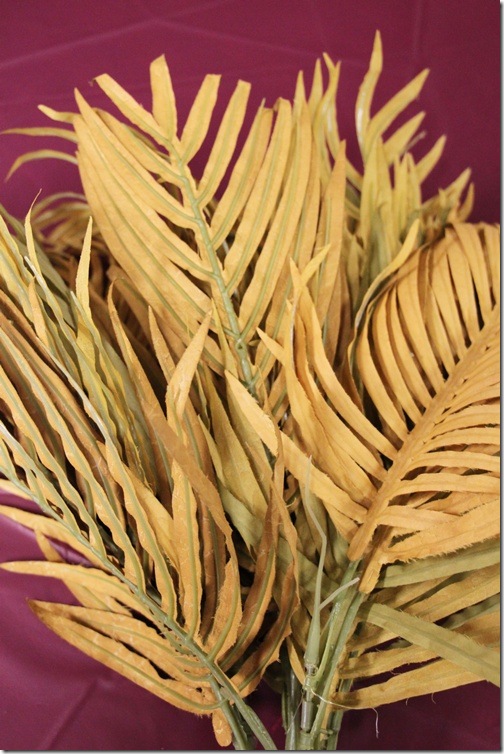
Here are the golden fronds which have a nice Fall color. Fake of course.

Fall berries feathers

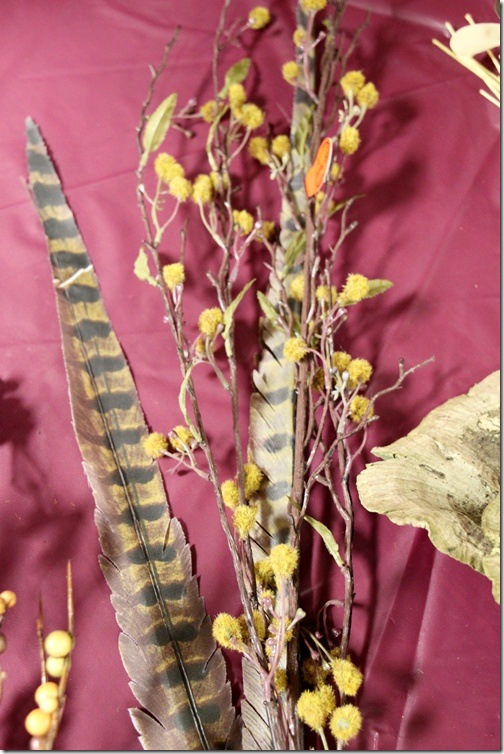
We picked up some Fallish feathers and some fuzzy fillers too.


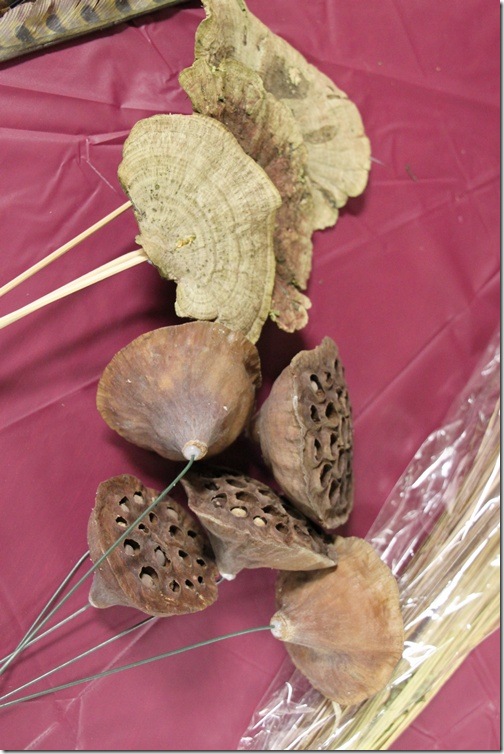
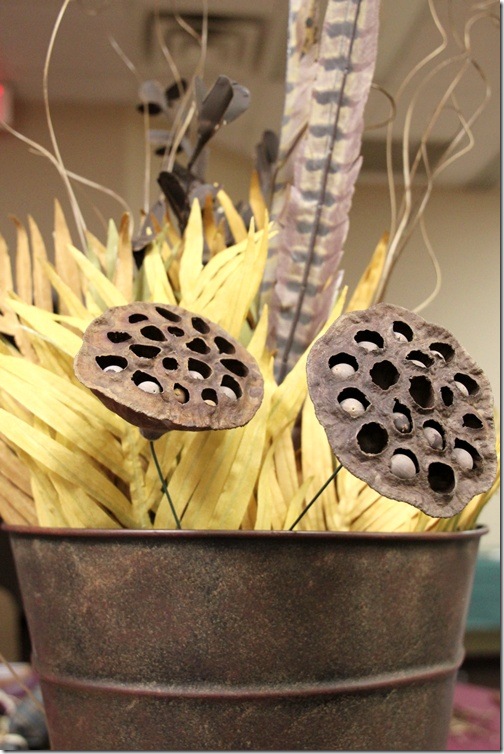
From the naturals area, seed pods, grass and mushrooms. I love all of these!
 

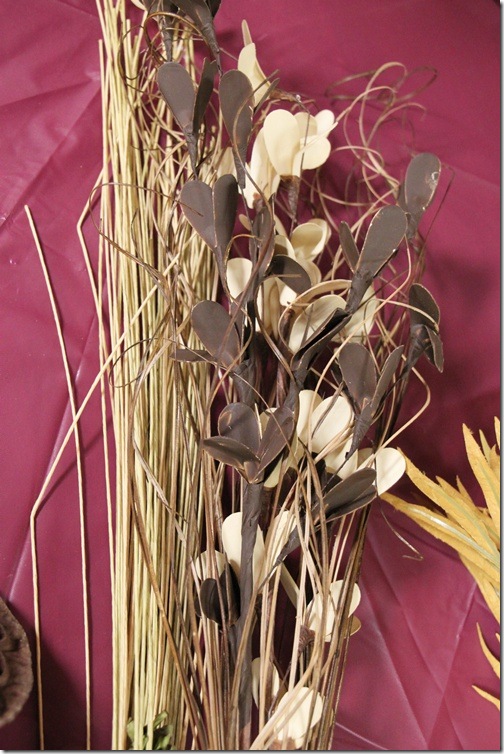
More grass and naturals for height.


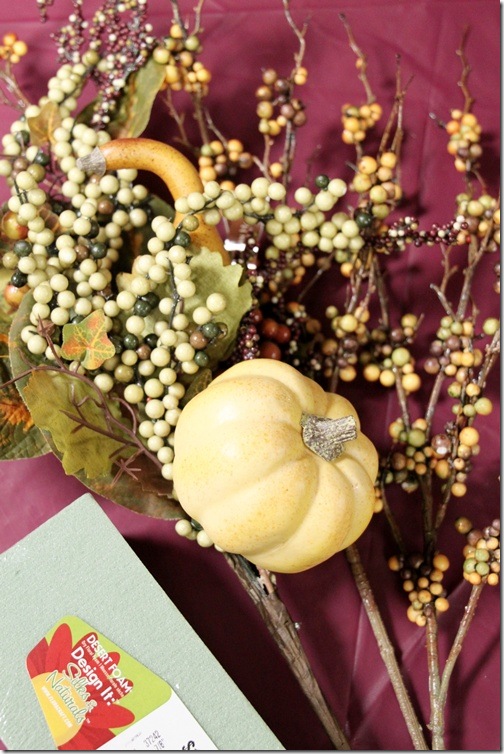
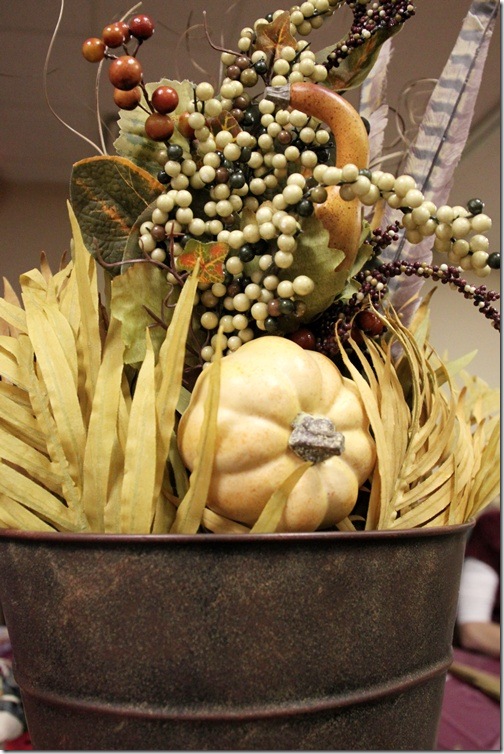
One of these picks is enough for the front of the basket, with a cute little pumpkin and berries already attached.


Start with the yellow fronds.


Add some seed pods and the feathers.


Plop in the large pumpkin pick and start filling in the back with the taller things.


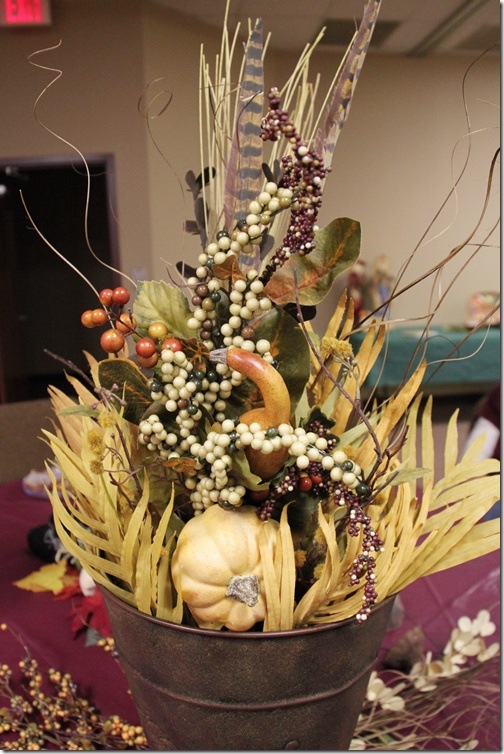
And it all starts looking pretty.


Take a look at both sides and while they don’t have to look exactly the same, it’s nice to have them balanced.

Fall Floral Wall Pocket

Play around with it until it looks good to your eye and there you have it! You can move things around if it’s not looking good. All it takes is a few tweaks. A Fall door pocket. It’s nothing too fancy, but a nice way to greet guests. She can keep this up all the way til December and then she may opt for a Christmas look. Do you make door arrangements each season?

October 23, 2011

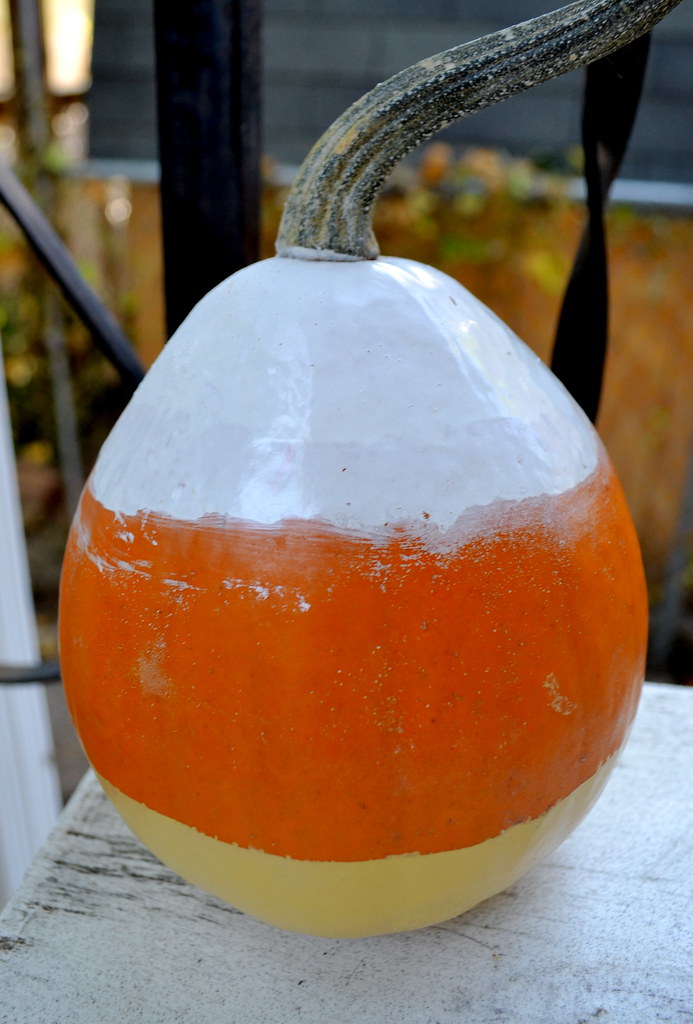
Candy Corn Pumpkin: Kim’s unFootball Sunday

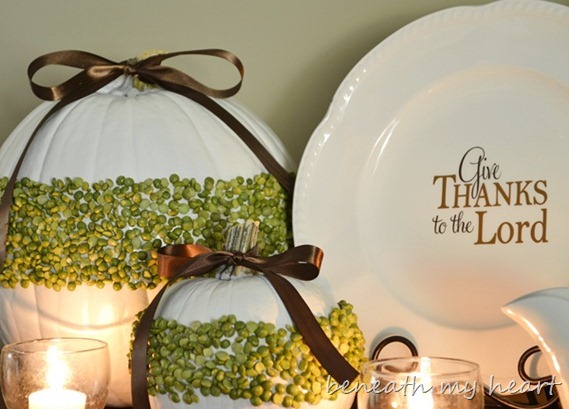
Welcome again to (un)Football Sunday! If you've missed the last few weeks, you can read all about (un)Football Sundays here and catch up on the previous projects (Traci's split pea pumpkins and Alissa's fall mantle).

Today, I'm very excited to have Kim from NewlyWoodwards guest posting! Don't worry Kim, we don't mind that you're actually a football fan, I'm just happy to have you here! Kim has some great DIY projects on her blog and I am majorly jealous of her sewing skills, but I'm most amazed by the top to bottom renovation she and her hubby just completed on her new home!

But today, Kim is here to share a very cute candy corn pumpkin, so I'll let her take it away:

unfootball
----------------------------------------------------------

Hi I'm Kim from NewlyWoodwards, and I'm thrilled to be hanging out at DIY Newlyweds today. Jenny and I share a love for all things pretty, renovation and DIY.


I know that the context of Jenny's unFootball Sunday party is to get away from the television on days when football dominates the living room. In truth, I'm actually a huge Chicago Bears fan and usually find my Sundays in front of the television with my husband cheering my favorite team. (Shh.... don't tell Jenny. She may kick me out of this party.) I've even braved the subzero weather to watch them in person. That's die-hard.


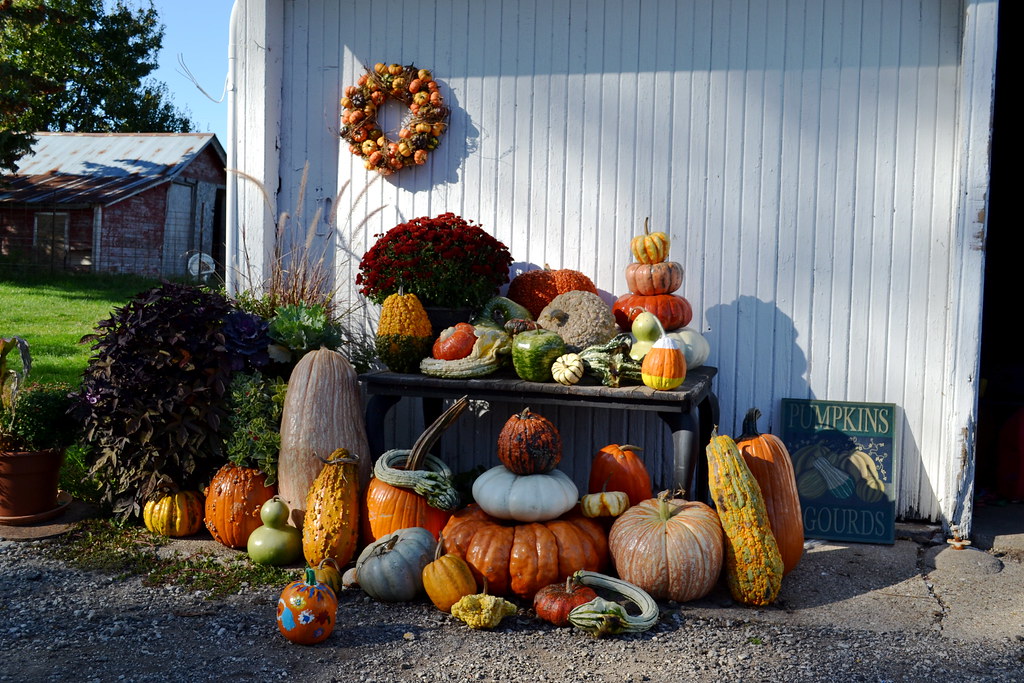
But, I was excited to take an opportunity to take on a fall project for the sake of unFootball Sundays. Since moving into our new house in September, I've been more focused on unpacking boxes and getting settled than decorating for fall. Now is the time! So, a few Sundays ago, I set to the task. My inspiration.


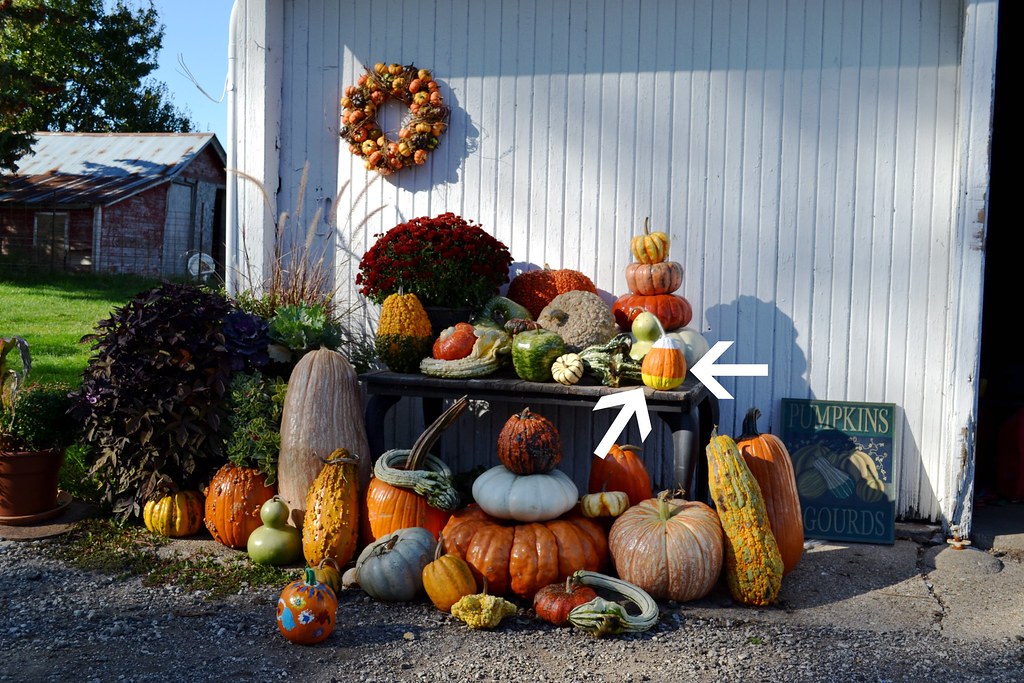
I know. There is a LOT of inspiration in this photo. This is a picture from the pumpkin patch where I picked up pumpkins. I know. I'm loving all the colors, the topiary, the wreath. (And I may have spent a small fortune to bring some of these pumpkins home for our porch.) But, I zoomed in on that candy corn pumpkin.


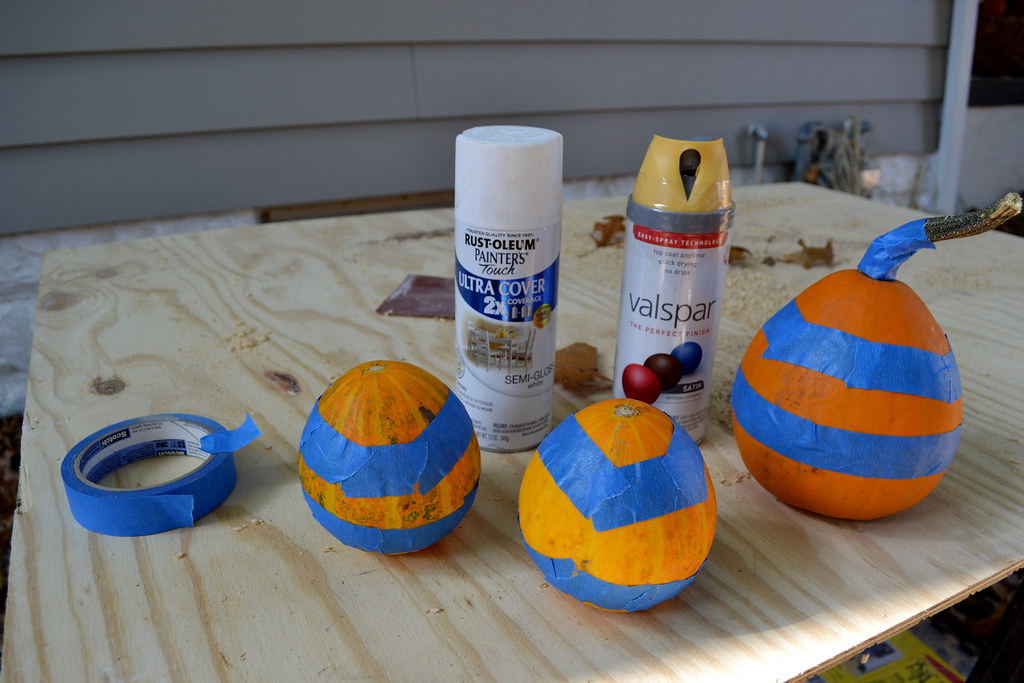
Is that not the CUTEST thing ever? I decided I must make myself a candy corn pumpkin or two while my husband was parked in front of Sunday football. It's so simple, I finished it over the course of a few downs. (Ryan was yelling the score out the window while I painted.) All you'll need - pumpkins, painter's tape, white and yellow spray paint. I had everything on-hand from other projects. (I have a mini spray paint store in the house.) I tried to find my most cone-shaped pumpkins. Luckily, I had about 45 pumpkins to choose from. Tape off the pumpkins first.


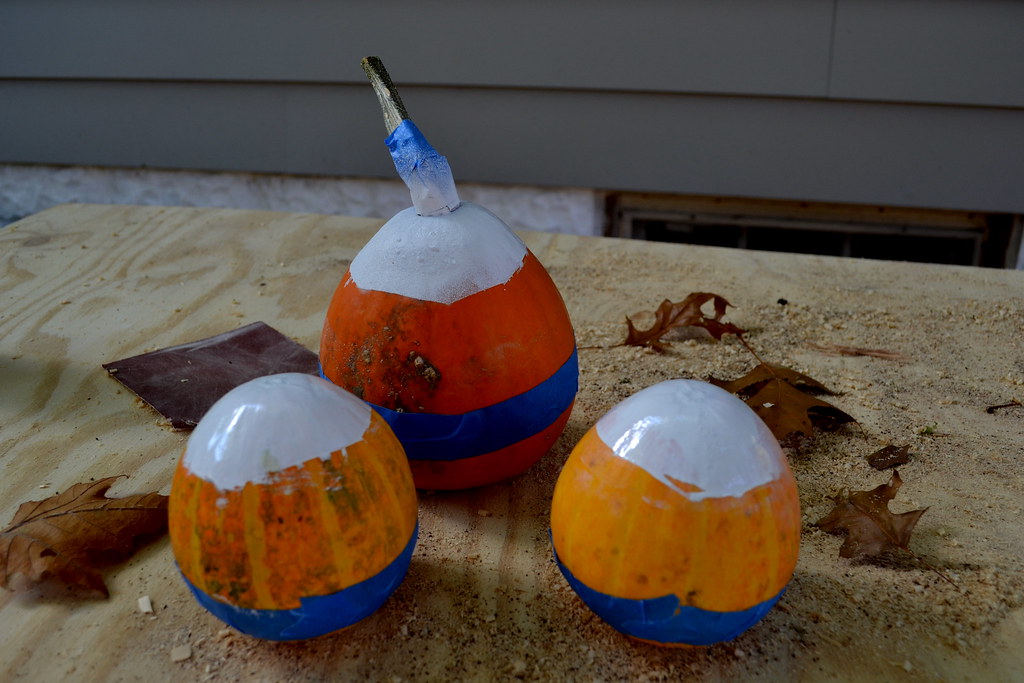
Spray white on the top first. I found it works best to take off the tape almost immediately after spraying. The lines aren't perfect, which I'm okay with. I did try to clean them up a little, but I also call it character.


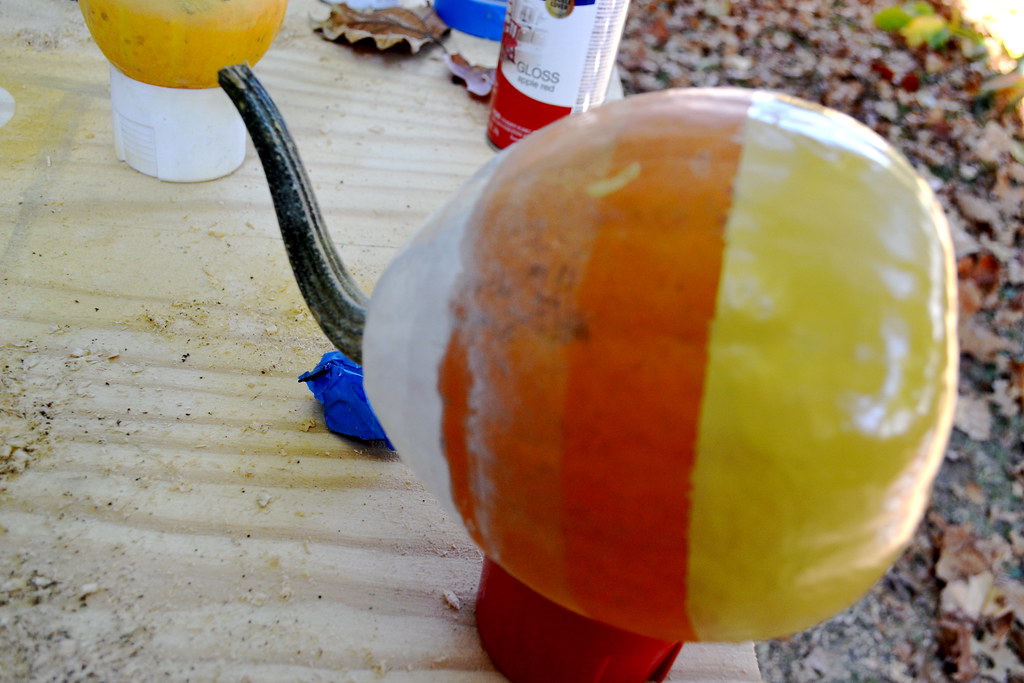
After drying, spray with yellow on the bottom. Same process.


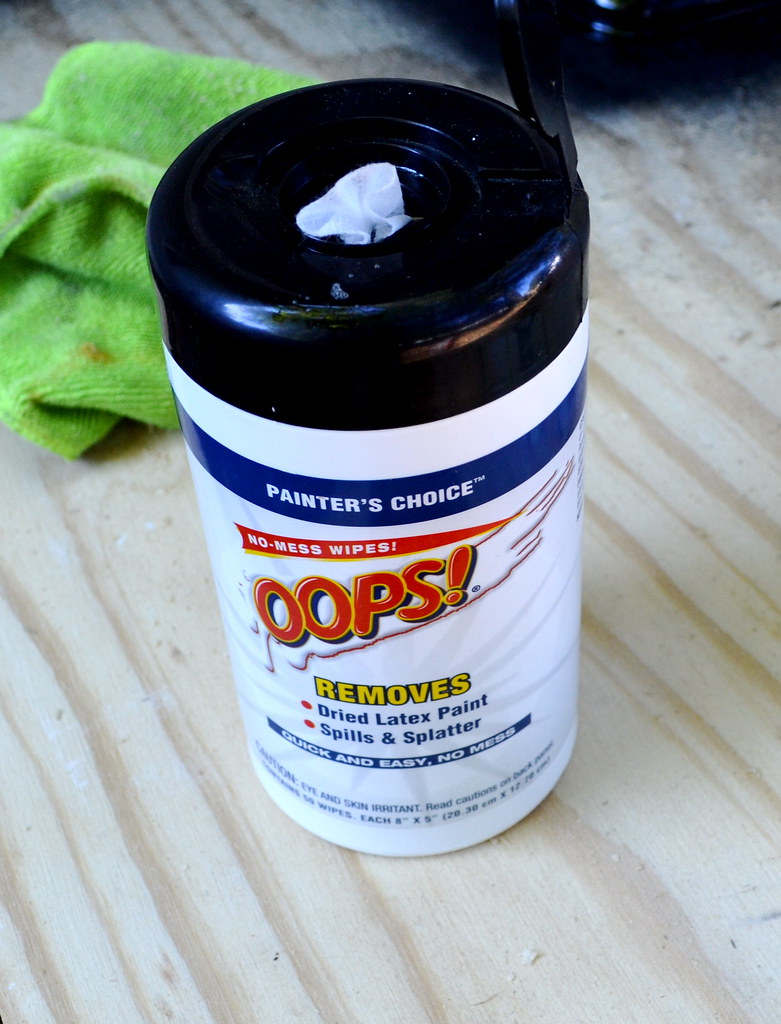
If you have any overspray that's bugging you, use my secret weapon. (Which also works pretty darn well when you spill a can of paint on newly-refinished hardwood floors. Hypothetically.)


And with that, you have a candy corn pumpkin. With plenty of time to catch the remainder of the game. Or, if it's more your style, start another project.


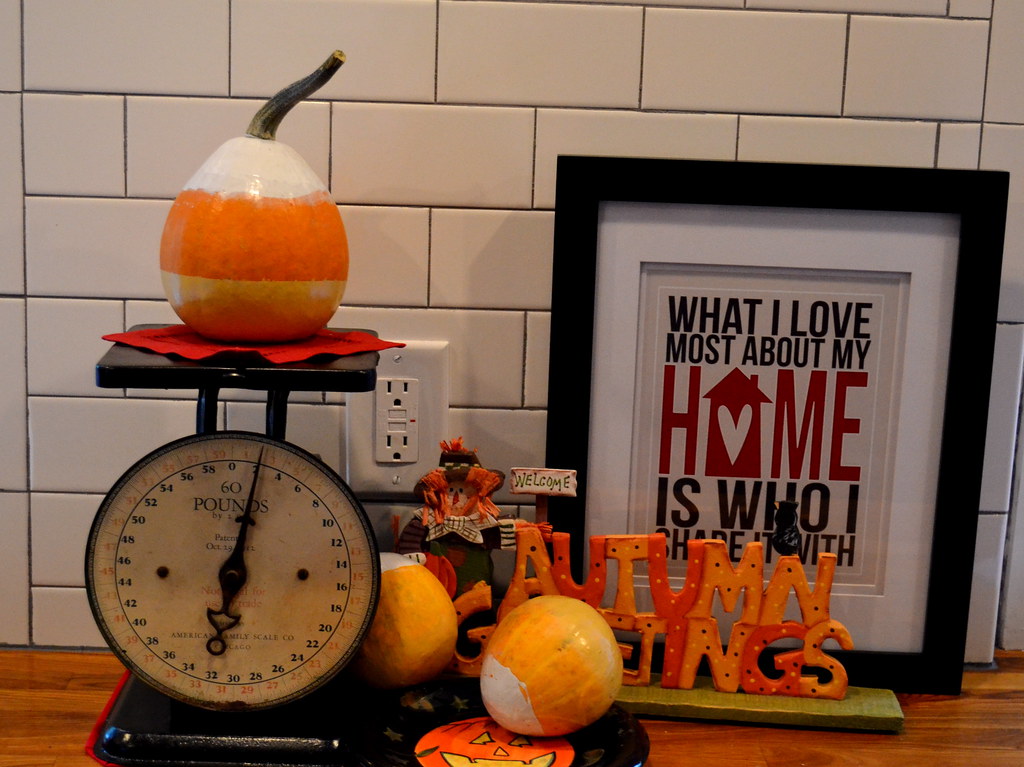
Easy, right? And here are my newest pumpkins showing off in the kitchen. (Check out our full kitchen here.)


While I was spray painting, I also sprayed that scale I found at the antique store. It's perfect, right? Thanks for having me, Jenny. And if you want to check in on what we are up to over at NewlyWoodwards, stop over anytime!
October 16, 2011

Natural Fall Mantle: Alissa’s unFootball Sunday

Happy Sunday! I’m thrilled to have another guest poster today for (un)Football Sunday (if you missed last week’s post, Traci from Beneath My Heart shared beautiful split-pea decorated pumpkins). 

Today, I’m very excited to feature Alissa from 33 Shades of Green!  Alissa has a beautiful home and shares some great decorating and DIY projects on her blog.  She also has a weekly Tasty Tuesdays recipe swap blog party. 

Today, Alissa is sharing her gorgeous fall mantle, so I’ll hand it over to her:

unfootball
---------------------------------------------

Thank you Jenny for asking me to participate in your fabulous series!  I'm so excited to be here at DIY Newlyweds today!


There's no denying it - Fall is officially here. I took some time this weekend to get my mantel ready for the season. The best part about this mantel is that the only things I bought are the faux olive branches, the mini white pumpkins, and the squash. I shopped the house for everything else.
.
The left side of the mantel:
.


.
And the right:
.
.
I found the olive branches @ Michael's. Recently I saw similar olive branches at Pottery Barn - these were about 1/3 of the price and look just as good. I love the silvery green of the leaves and the brown "olives". Perfect for Fall.
.
.
.
These glass vases are from IKEA. They were in my guest room until I noticed how perfect the colors were for my mantel.
.
.
.
A pumpkin and squash on glass candlesticks.
.
.
I bought the faux pears at Target a few years ago.
.
.
.
.
More pears on the other side of the mantel:
.
.
.
.
.
.

I think these squash are so pretty:
.
.


.
I don't really decorate much for Halloween. I like my mantel to make it all the way to December.
.
.
.

And the whole thing:
.
.
I think I'm ready for Fall now!
.
Below is a photo from my Fall Mantel last year. You can see it right here.
.
.

Thanks again Jenny for having me over!  You'll find me at my blog, 33 Shades of Green, crafting, cooking, designing, taking pictures, or pursuing some other crafty project!